Step by step Sql Server 2008 R2 installation

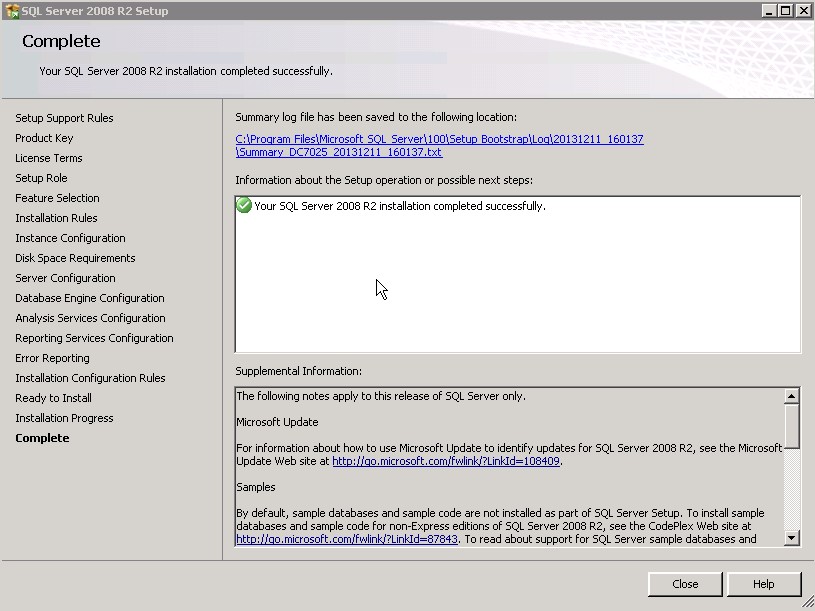
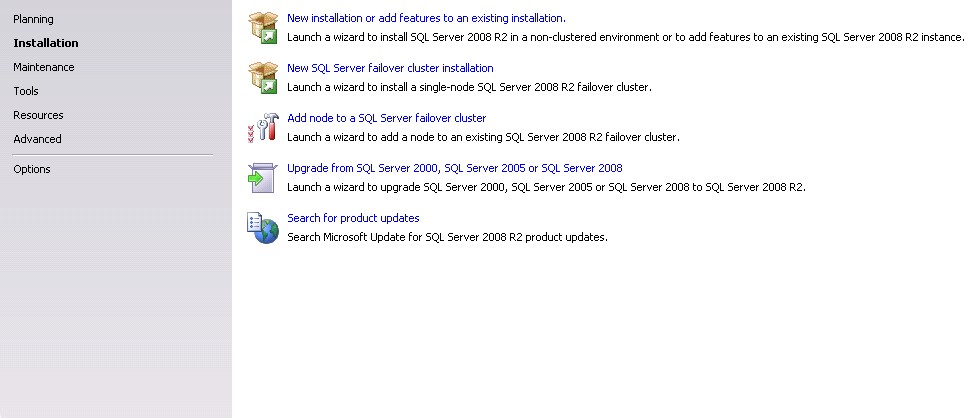
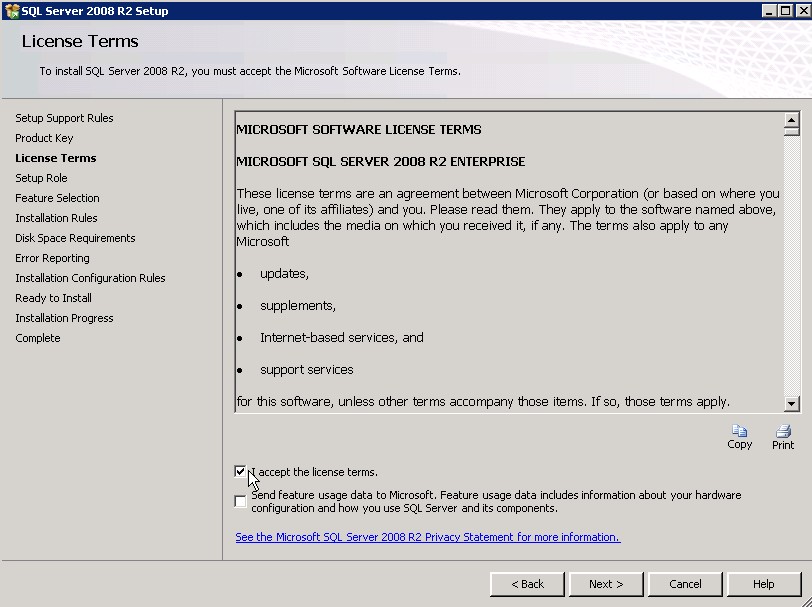
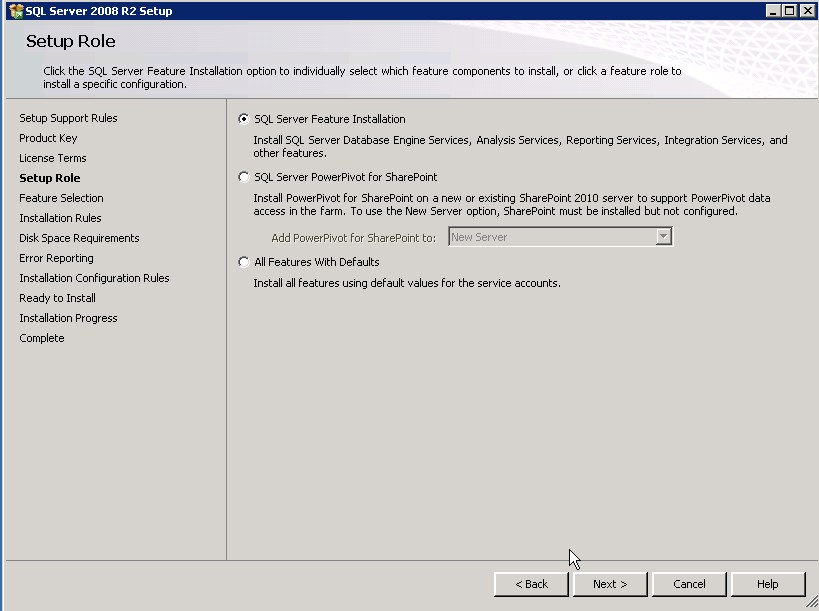
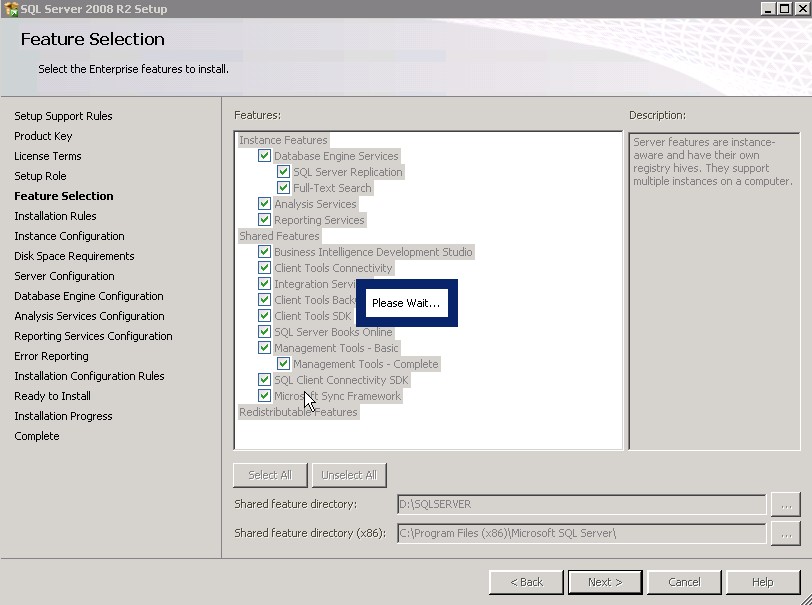
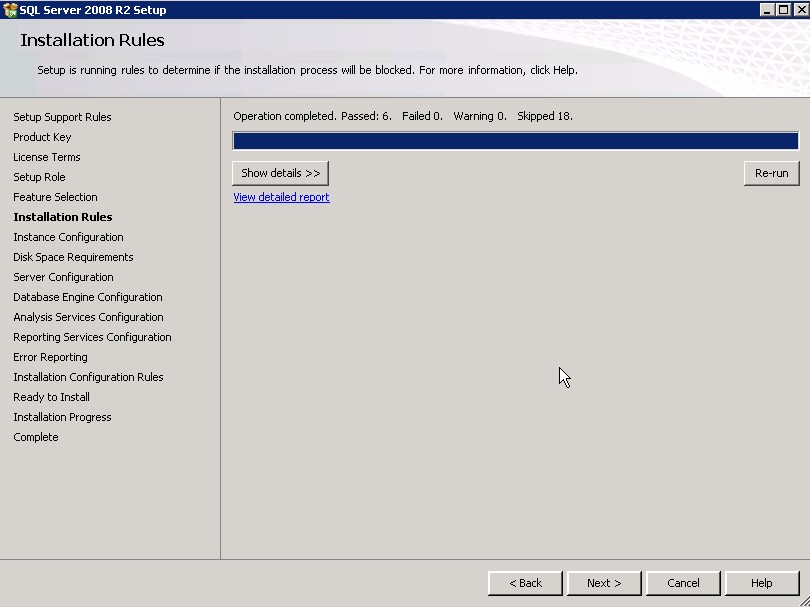
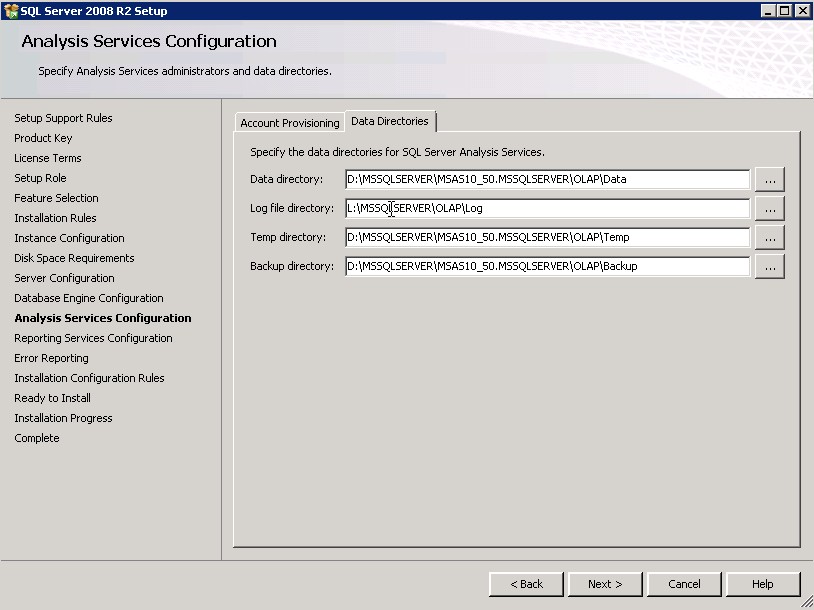
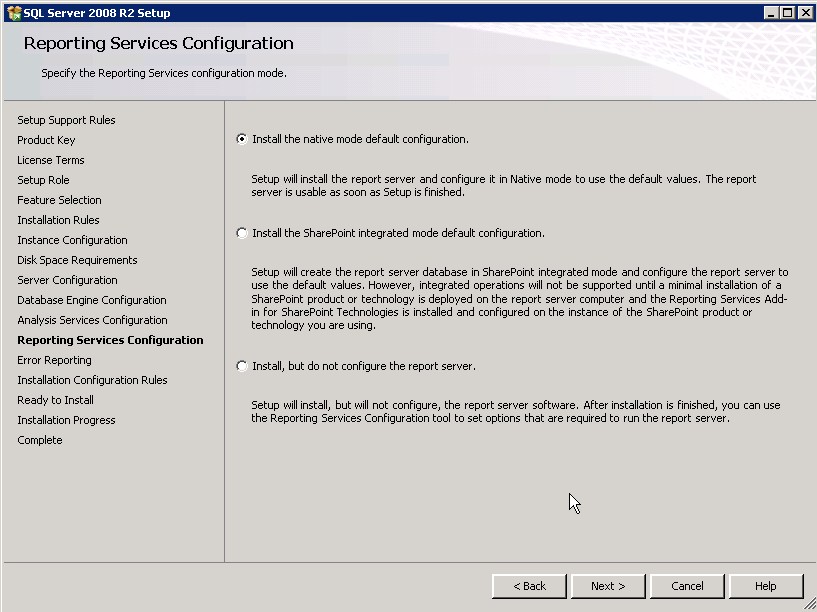
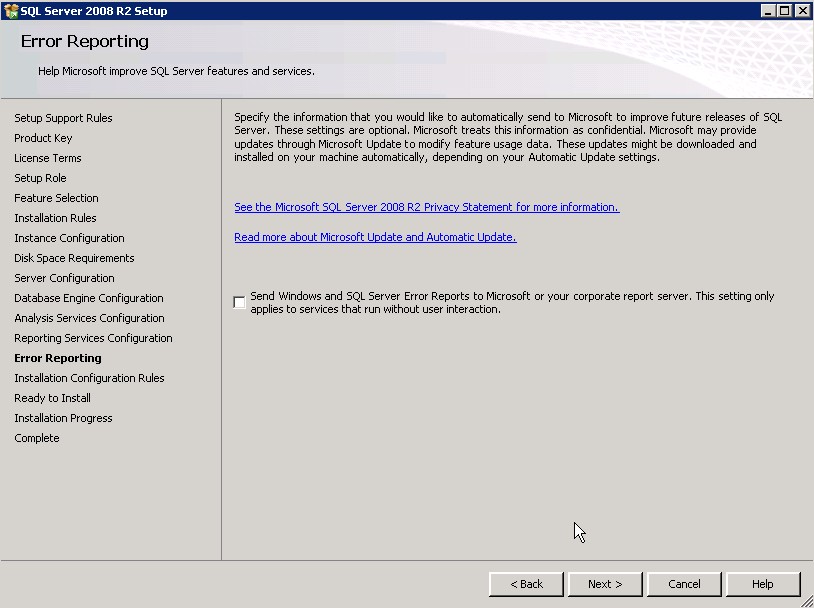
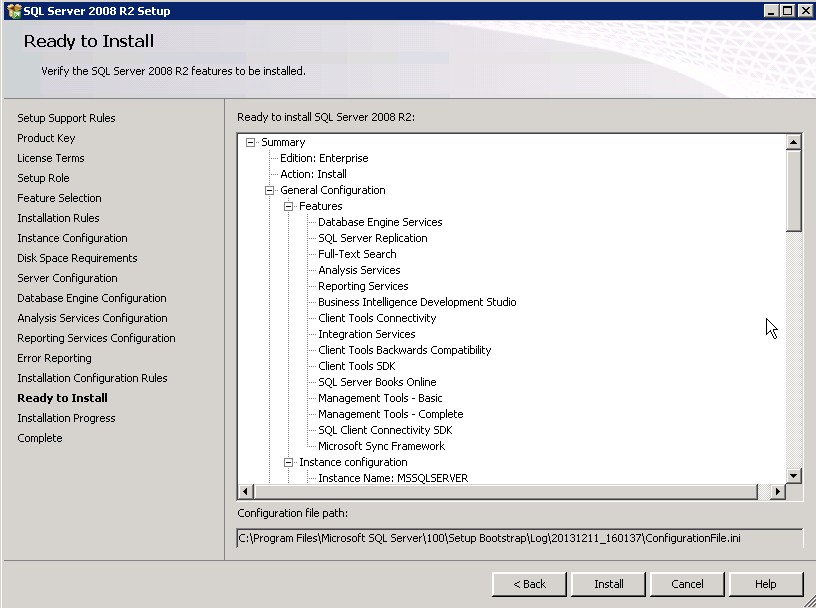
This tutorial will demonstrate a step by step SQL SERVER 2008 R2 installation. Before you start you need to download the softwere from this download link.

  • 1- After you have downloaded the software from the main menu choose Installation >> New Installation.
  • 2- Make sure no errors are present after the setup.
  • 3- Pass the support files update.
  • 4- Pass the support rules and make sure you fix all errors that show up.
  • 5- Accept the license term.
  • 6- Choose the first option.(SQL Server Installation)
  • 7- Select the features that you want to install.
  • 8- Pass the installation rules.
  • 9- Review the disk space needs.
  • 10- Choose the accounts that will manage the SQL Server services. They can be a local account or an A.D. acount.
  • 11- Choose the type of authentication. Choose the mixed mode.
  • A - choose a passowrd for the "sa" user. B - add the current user to be SQL Server admin.
  • 12- Choose where your data and log location will reside.
  • 13- Choose the data location for the Analysis Services.
  • 14- Choose the default configuration. Where the Reporting Services will be installed and configurated by default.
  • 15- Next.
  • 16- Pass the installation rules.
  • 17- Verify the SQL Server installation and choose the Install.
  • 19- SQL Server installed with success.